


Wooden Block Storage Makeover: A Simple DIY for a Calmer Kids’ Room
- Jan 29
- 3 min read
Updated: Feb 7
How to turn a printed cardboard storage container into a warm, wood-look design piece – with an easy step-by-step guide.

A tidy kids’ room doesn’t have to feel cold or overly styled. With this wooden block storage makeover, you can transform a printed cylindrical cardboard container into a calm, beautiful storage solution using wood-look adhesive foil. The result creates visual calm, blends effortlessly into the room – and even looks a bit like an oversized wooden building block, perfectly matching what’s inside.
Why Wood Tones Work So Well in Children’s Rooms
Wood finishes – even as adhesive foil – instantly change the feeling of a space. They feel:
warm and calming, instead of loud or busy
timeless, working with many colours and furniture styles
visually quiet, because patterns and prints disappear
Especially for storage containers that are always visible, this small makeover makes a big difference.
What You’ll Need for the Wooden Block Storage Makeover
Materials
A cylindrical cardboard storage container (with or without lid)
Wood-look adhesive foil (matte finishes usually look more natural)
Optional: clear tape or thin felt for finishing inner edges
Tools
Measuring tape or ruler
Pencil
Scissors or craft knife + cutting mat
Squeegee or plastic card (an old bank card works well)
Step by Step:
How to Cover the Container Neatly (Including Handle Tips)
1) Measure the Container
Height: Measure the visible height of the cylinder (decide whether the rim or base should stay visible).
Circumference: Measure all the way around – or calculate it:Circumference = diameter × 3.14
Tip: Add 1–2 cm overlap to ensure a clean seam.
2) Cut the Foil (Slightly Larger Is Better)
Cut a rectangle:
Height + 0.5–1 cm (trim later for a perfect edge)
Circumference + 1–2 cm overlap
If your wood pattern has a grain direction, decide in advance:
Vertical grain feels more furniture-like
Horizontal grain enhances the “building block” look
3) Apply the Foil Slowly and Smoothly
Peel back only a small section of the backing paper (5–10 cm).
Attach the foil and smooth it down with your card.
Continue peeling and smoothing bit by bit.
Rule of thumb: Slow = bubble-free and stress-free.
4) Important: Working Around the Handles
Handles are where DIY projects often look messy – but not with this method.
Option A (recommended): Cut small openings
Apply the foil until you reach the handle area.
Mark the handle position lightly.
Cut small, precise slits or a U-shape around the handle.
Continue applying and press edges firmly.
Option B: Split the foil
Apply one section up to the handle.
Start a second piece after the handle area.
Place the seam at the back so it stays visually quiet.
5) Finish the Edges for a “Store-Bought” Look
Trim excess foil carefully with a craft knife.
Press all edges firmly.
Optional: protect the inside edge with clear tape or felt if the container is used often.


How to Achieve a True Oversized Wooden Block Look
To really lean into the building-block aesthetic:
Choose a light wood tone for a playful, child-friendly feel
Keep surrounding colours soft and neutral
Place the container near real wooden blocks – the visual connection is instant
This turns storage into a design element rather than something to hide.
Common Mistakes (and How to Avoid Them)
Air bubbles
Peel slowly and smooth continuously.
Crooked seam
Draw a light vertical guide line at the back before starting.
Frayed handle edges
Make small, clean cuts and press edges firmly into place.
More Calm Storage Ideas for a Kids’ Room
If you enjoyed the wooden block storage makeover, you’ll find more ideas on the blog that gently combine order and aesthetics in a kids’ room. A hand-sewn toy storage bag, for example, is a soft and flexible solution for building blocks or cuddly toys. For the walls, carefully selected kids’ room posters add colour and personality without making the space feel busy. And if you love natural materials, a wooden storage crate is a timeless alternative that works beautifully with many styles.
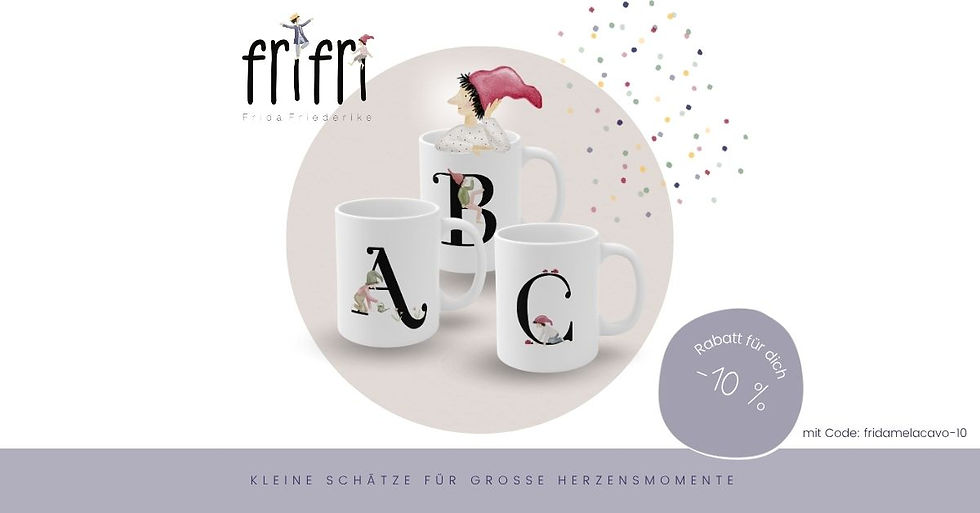
If you’d like to continue this calm, natural look, you’ll find hand-illustrated children’s room decorations such as posters in our frifri shop. They blend harmoniously into cosy, peaceful kids’ rooms and add a personal, imaginative touch.
Enjoy upgrading your toy storage,
a warm hug and see you again soon.


Comments